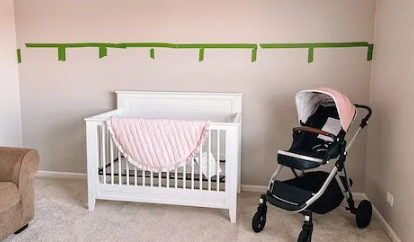
Transforming Your Nursery with Board and Batten: A Step-by-Step Guide
Looking to add some character and charm to your nursery? Consider installing board and batten walls for a stylish and timeless look.
Step 1: Measure and Plan
Start by measuring the walls you want to install the board and batten on. Plan out the spacing and height of the battens to ensure a uniform and symmetrical appearance.
Step 2: Gather Materials
You will need boards for the battens, a saw for cutting the boards to size, a level for ensuring straight lines, a nail gun or hammer for securing the battens to the wall, and paint or stain for finishing touches.
Step 3: Install the Battens
Begin by installing the vertical battens first, using a level to ensure they are straight. Secure them to the wall with nails or adhesive. Then, install the horizontal battens, making sure they are evenly spaced.
Step 4: Fill and Sand
Once all the battens are in place, fill any nail holes or gaps with wood filler. Allow the filler to dry, then sand the walls smooth to create a seamless finish.
Step 5: Paint or Stain
Finally, paint or stain the board and batten walls to match your nursery’s decor. Choose a light and neutral color for a classic look, or go bold with a pop of color for a more modern feel.
Transforming your nursery with board and batten is a simple and affordable way to elevate the space and create a beautiful backdrop for your little one. Follow these steps to achieve a stylish and sophisticated nursery design that will stand the test of time.

